In context of setting up a new device, more on this in a separate post, several handy applications had to be re-installed and configured.
Sync your documents
Syncthing
Extract from Syncthing webpage: Syncthing is a continuous file synchronization program. It synchronizes files between two or more computers and replaces proprietary sync and cloud services with something open, trustworthy and decentralized. Your data is your data alone and you deserve to choose where it is stored, if it is shared with some third party and how it’s transmitted over the internet.
 We like and support the open source concept. We especially like the focus on data privacy and security and being empowered to decide where our data resides.
Syncthing is a natural fit to keep our work in sync across various devices, i.e. a Linux powered Server, a workstation PC running on Linux, a portable 2-in-1 PC (aka convertible laptop/tablet computer) running Window 10, several Android based mobile phones and tablets.
It helps productivity tremendously when you can work on the way and then continue seamlessly in the office on a different device.
It also gives you peace of mind to know that your important documents are not only on one device but on several devices and therefore you’ll worry less about a sudden device failure or harddisk crash. It’s an extension to a good backup strategy, however, we’d not recommend to use it as a replacement for it.
Download
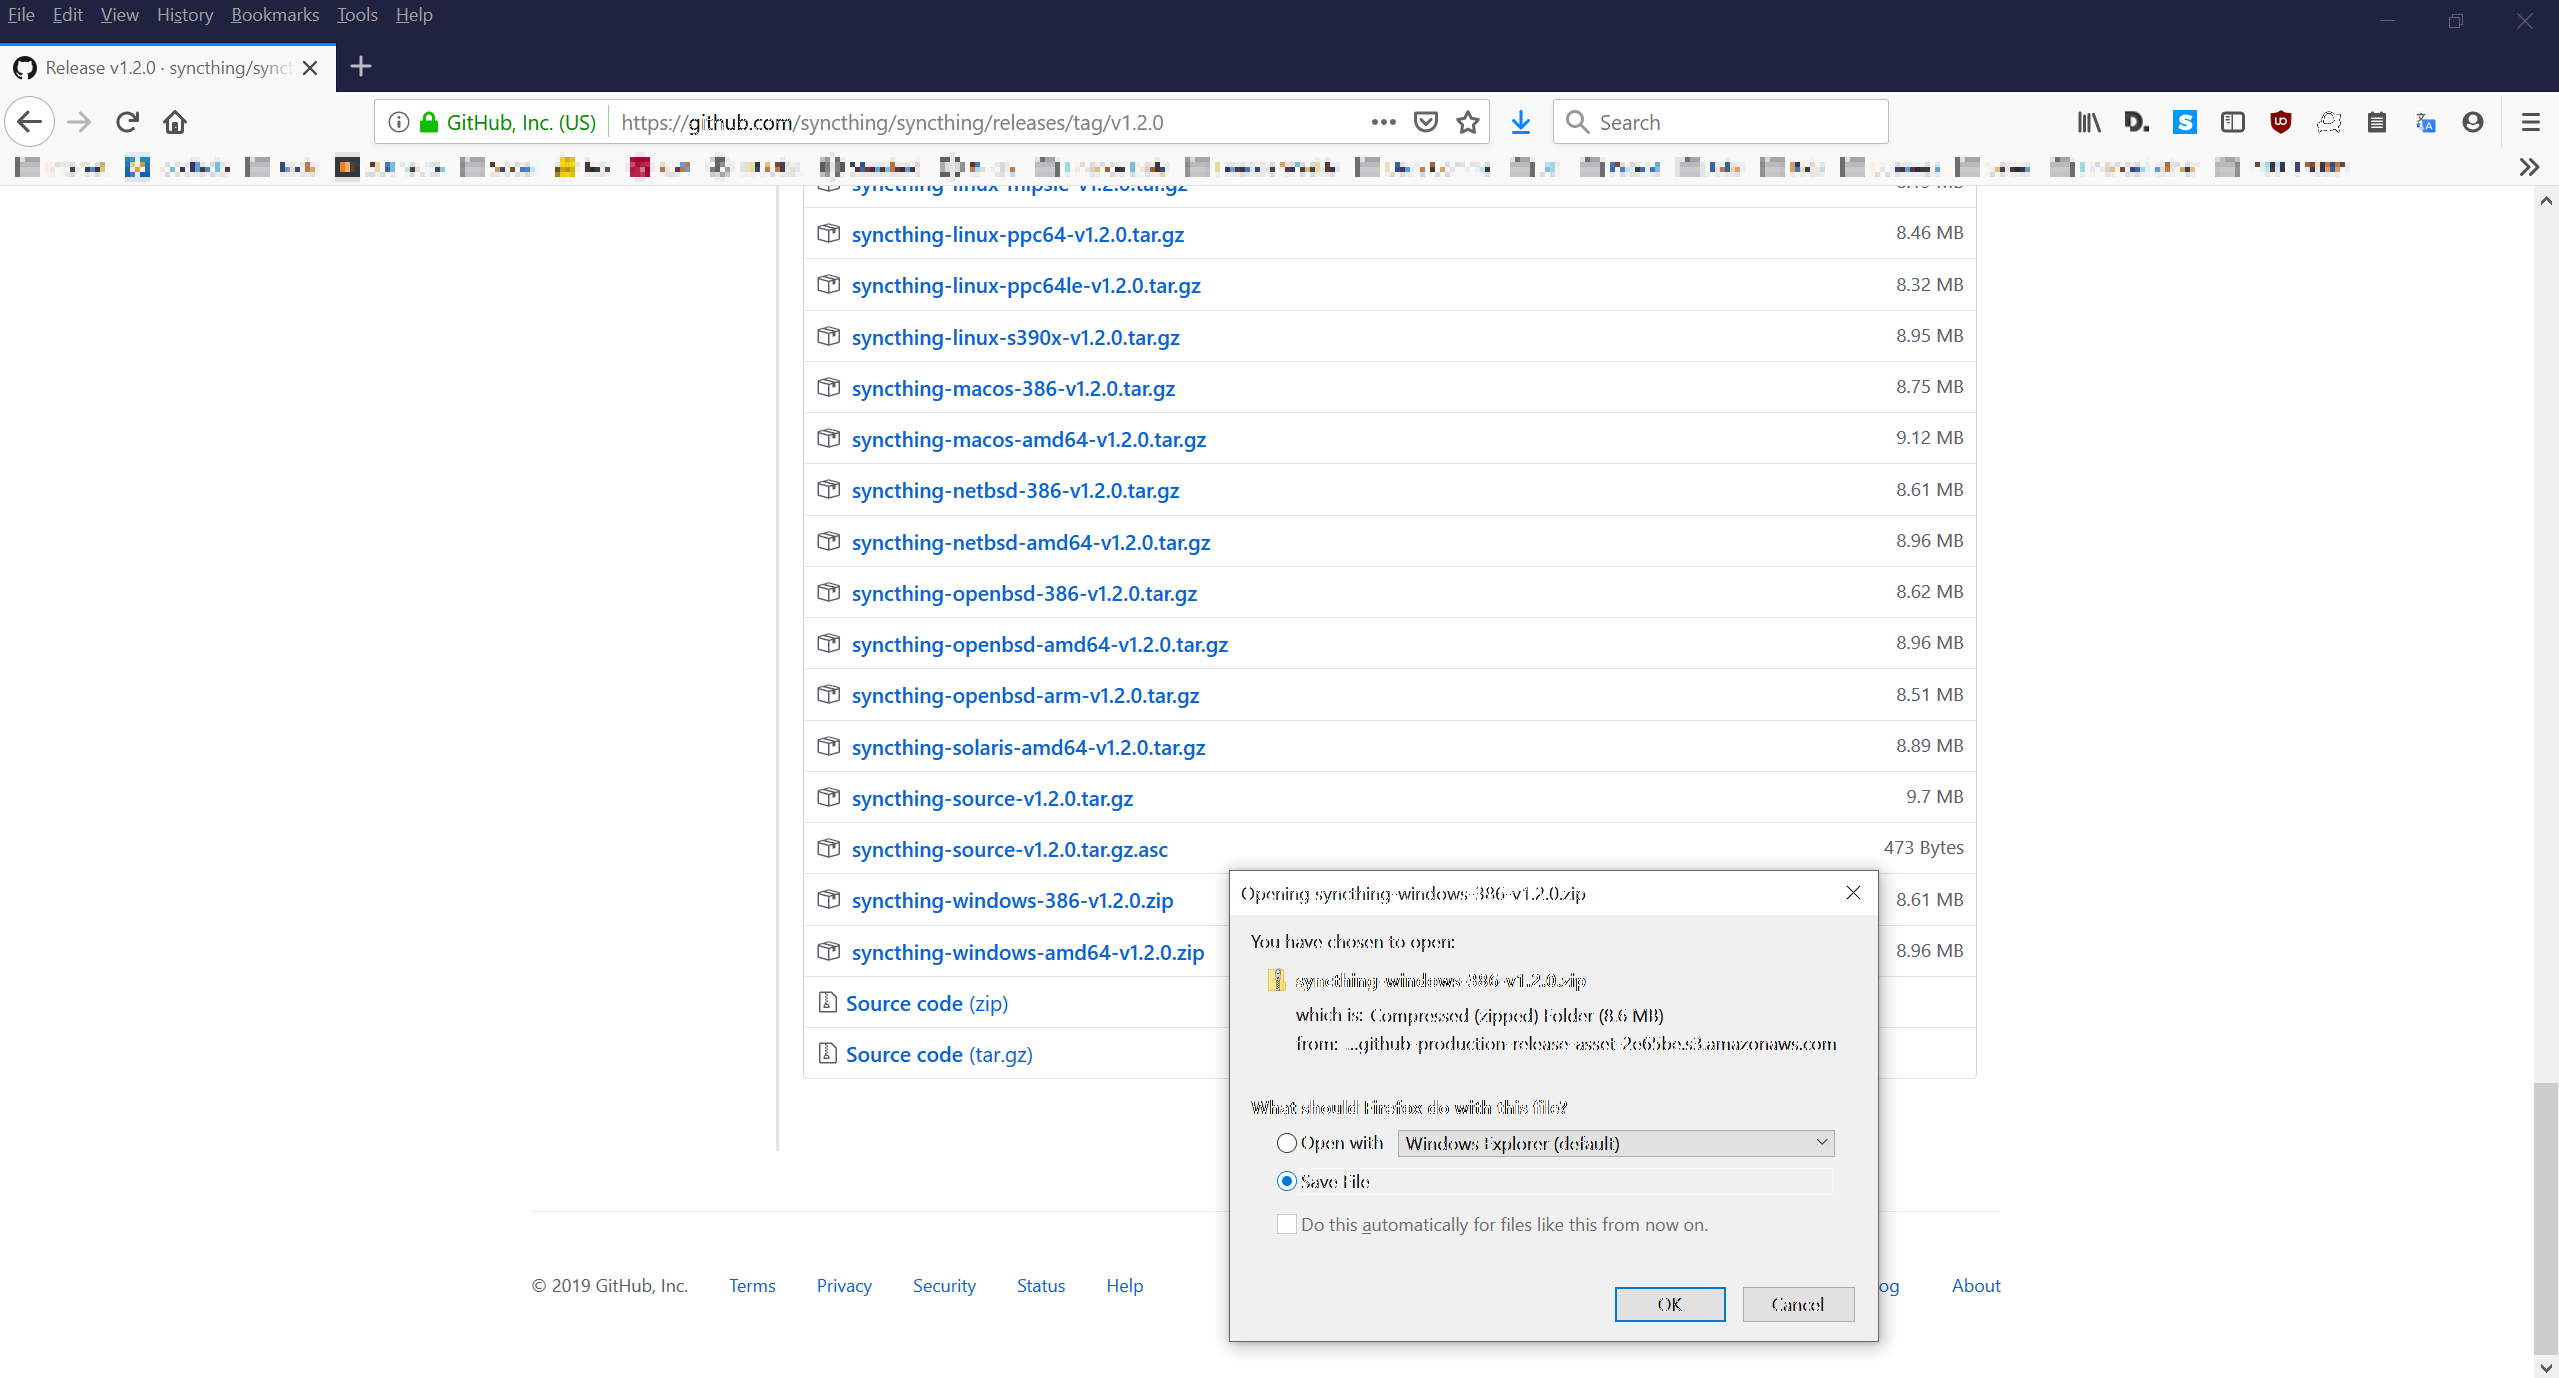
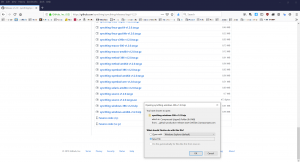 Click on the correct file, and select Save File.
For our Windows 10 device – the example used here – download the 32-bit version labelled windows-386-vXXXX.zip, not the amd one under the amd64 label by following the Download button from https://syncthing.net/.
Alternatively, choose the Native GUI implementation.
At the time of this writing, the latest version is 1.2.0 and is packaged as a zip file.
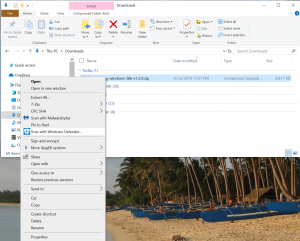
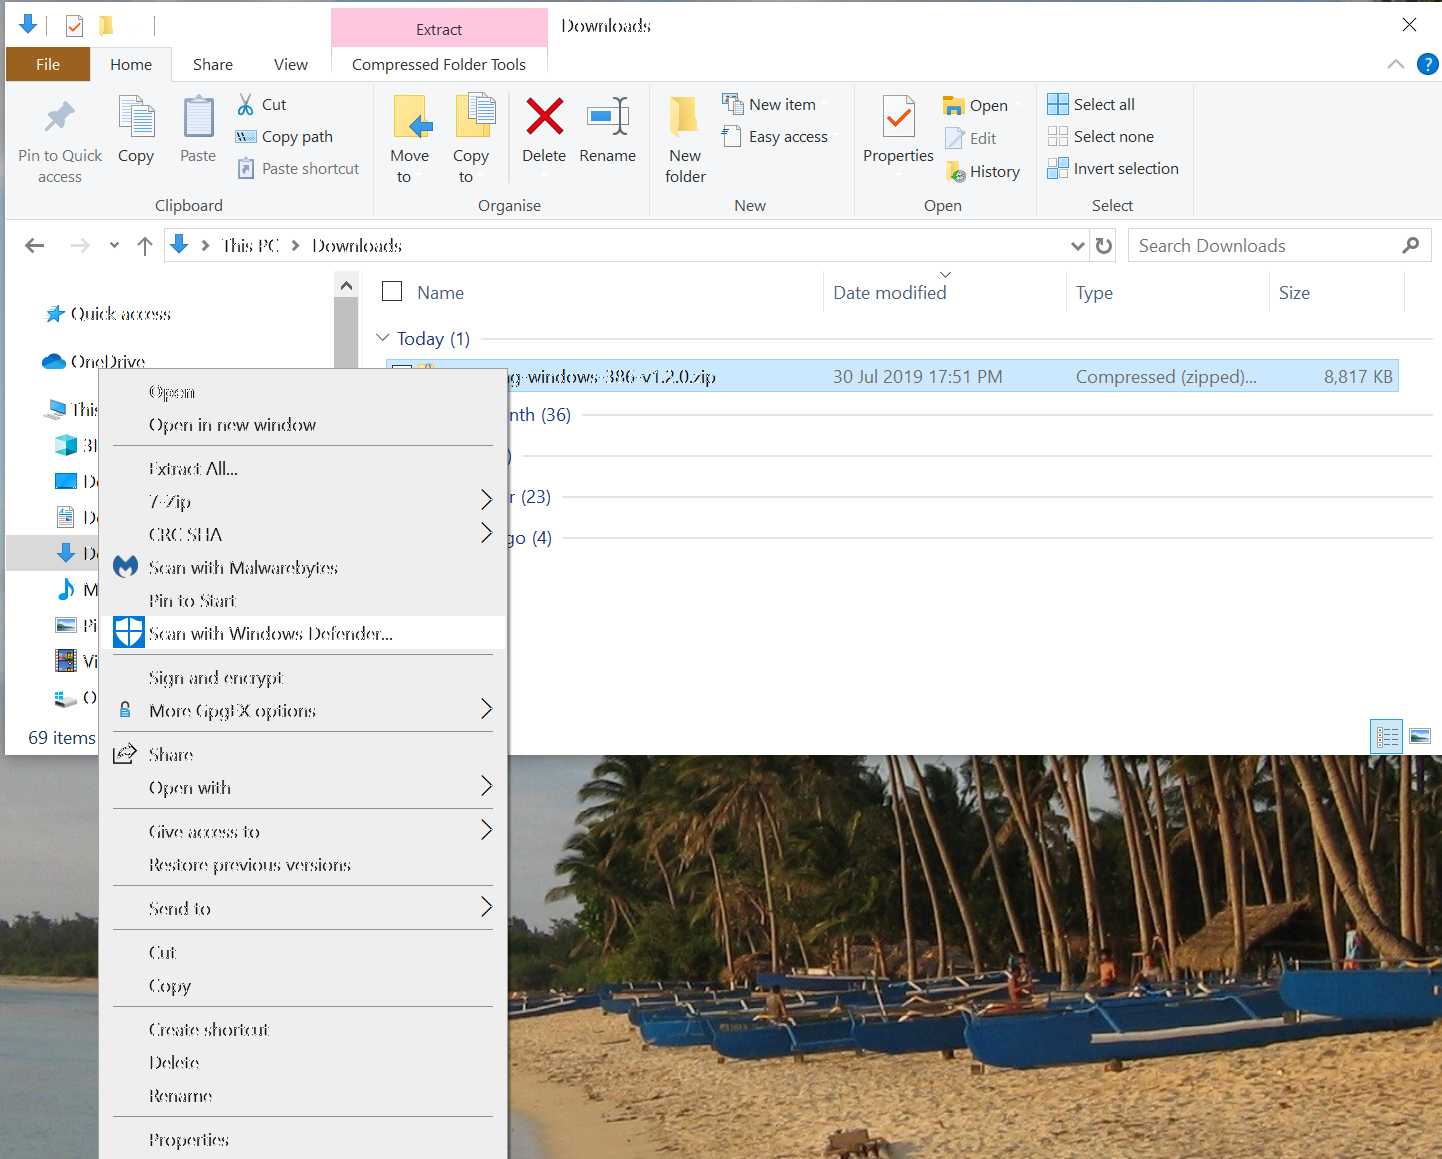
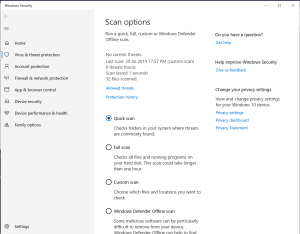 As always, first thing after downloading any application or file from the internet is a scan with the Antivirus protection, e.g. the Windows Defender, by right-click with the mouse on the freshly downloaded file. With result showing no thread, we feel more comfortable.
 Quickly also download the sha256sum.txt.asc file from the download area and save it.
Validate the download
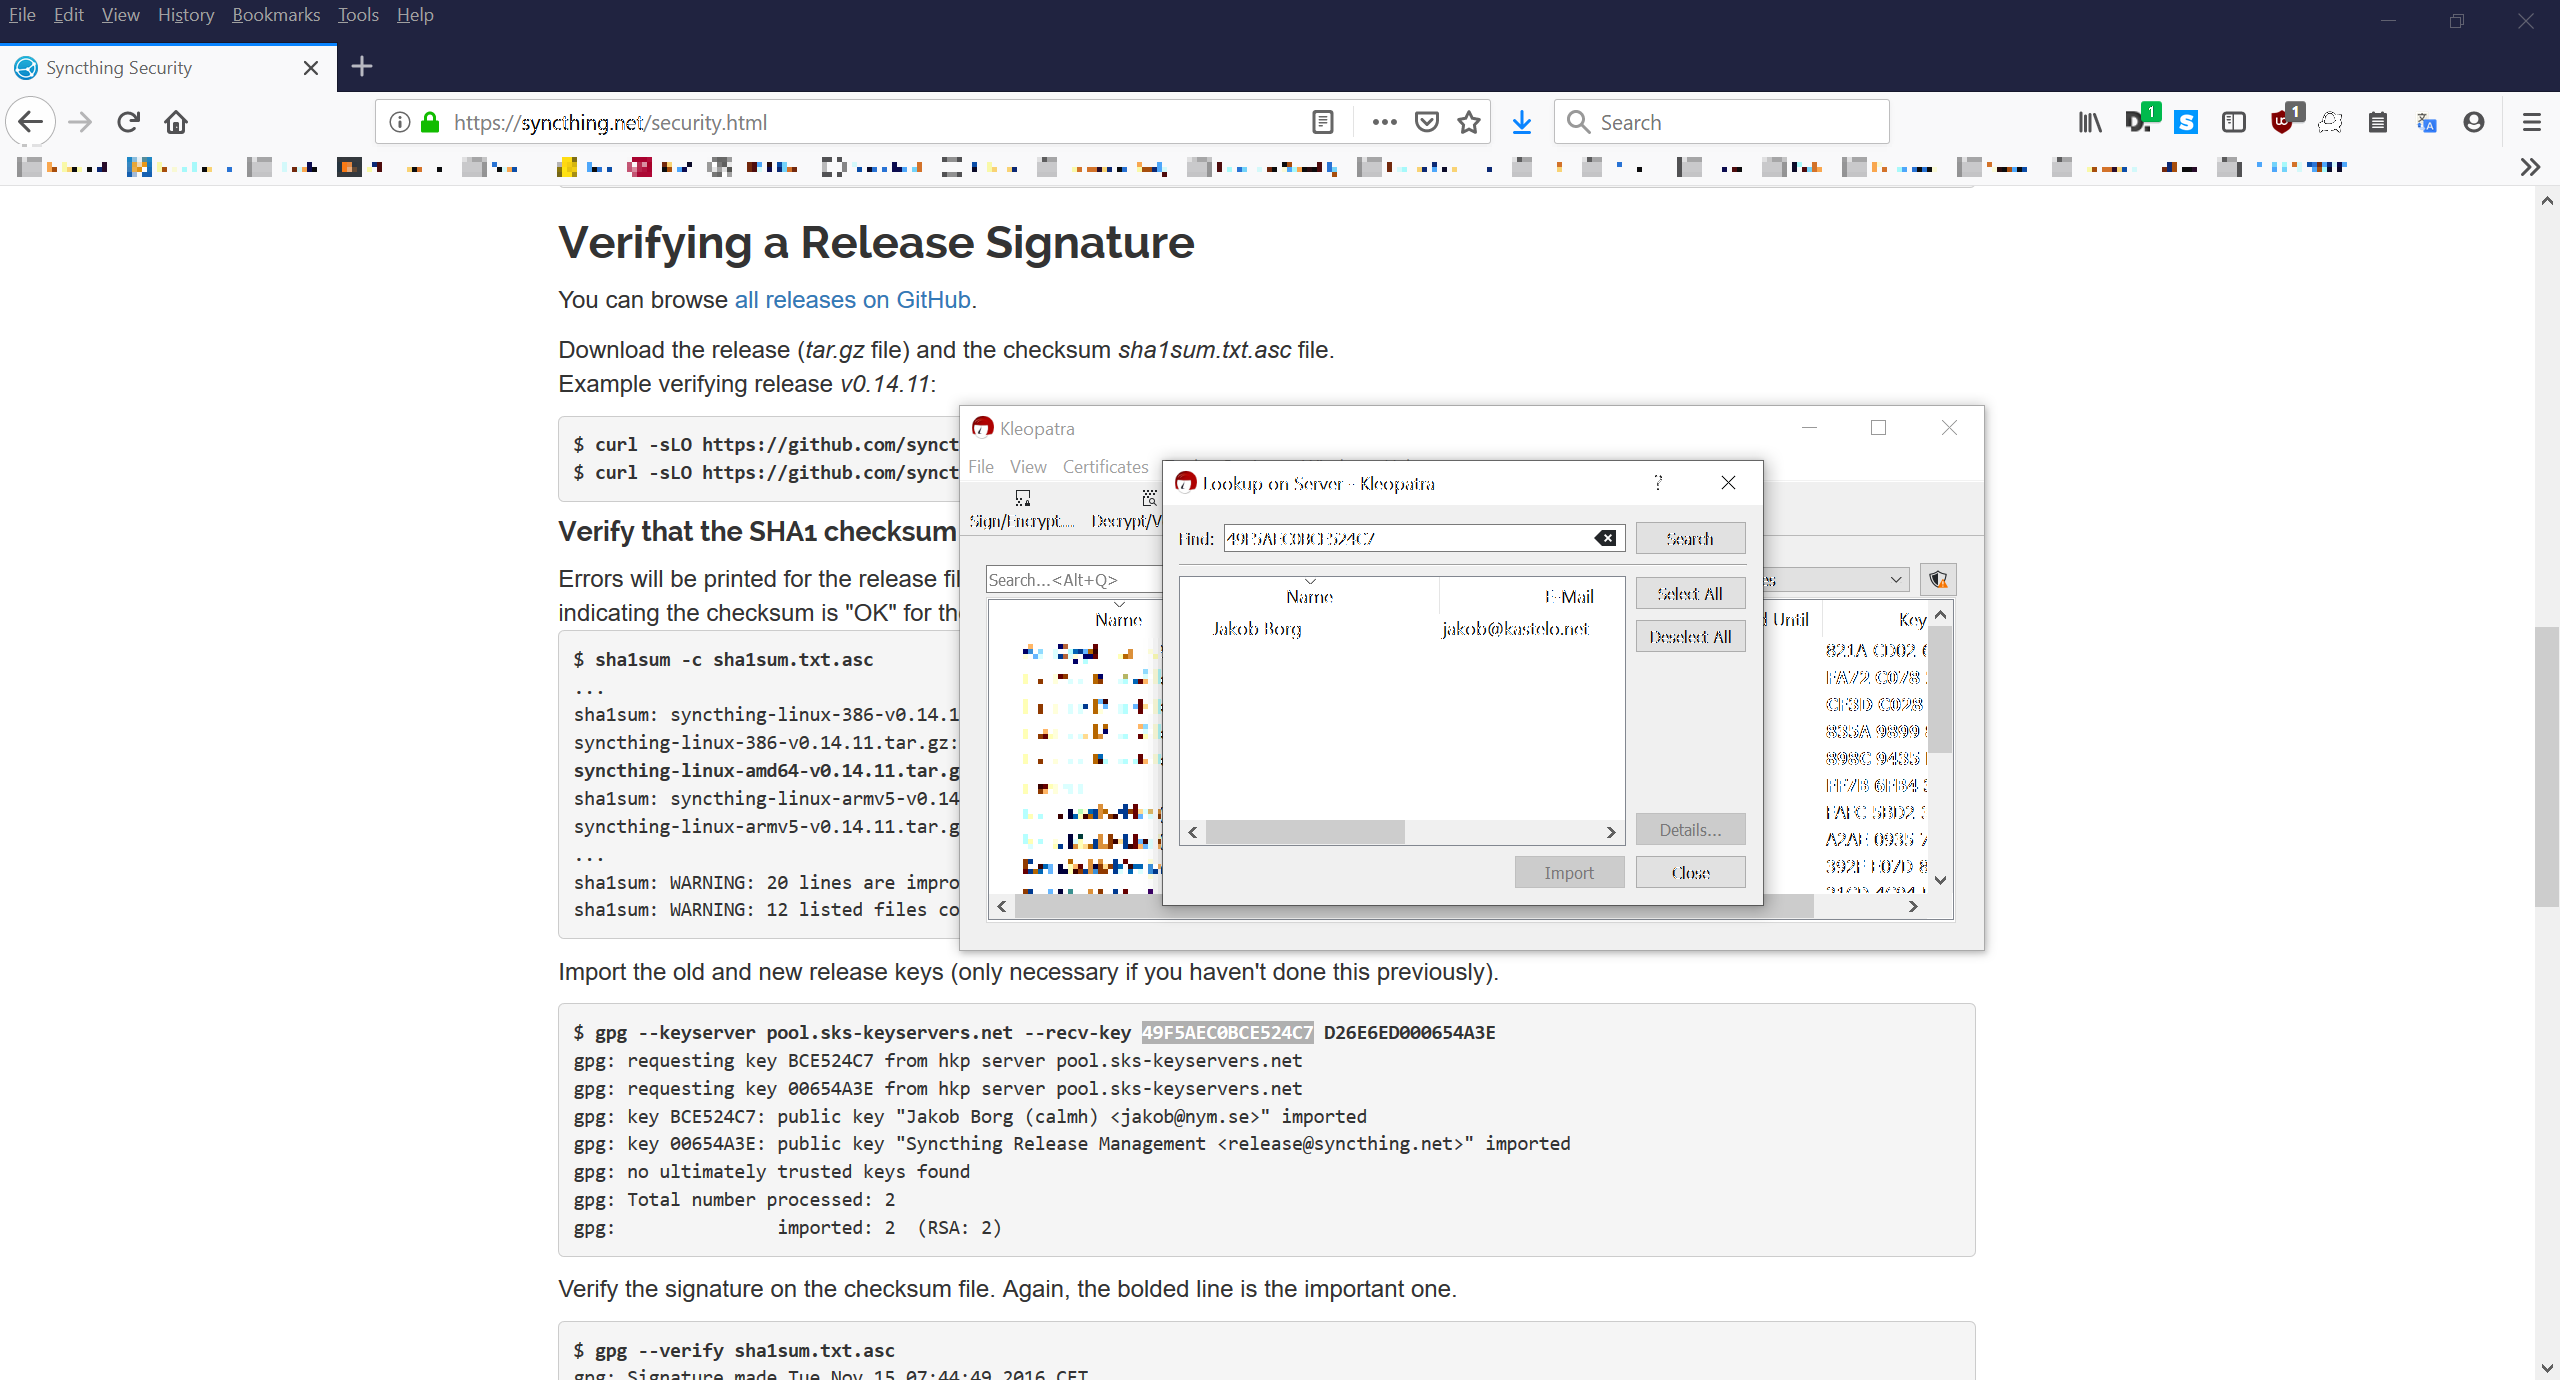
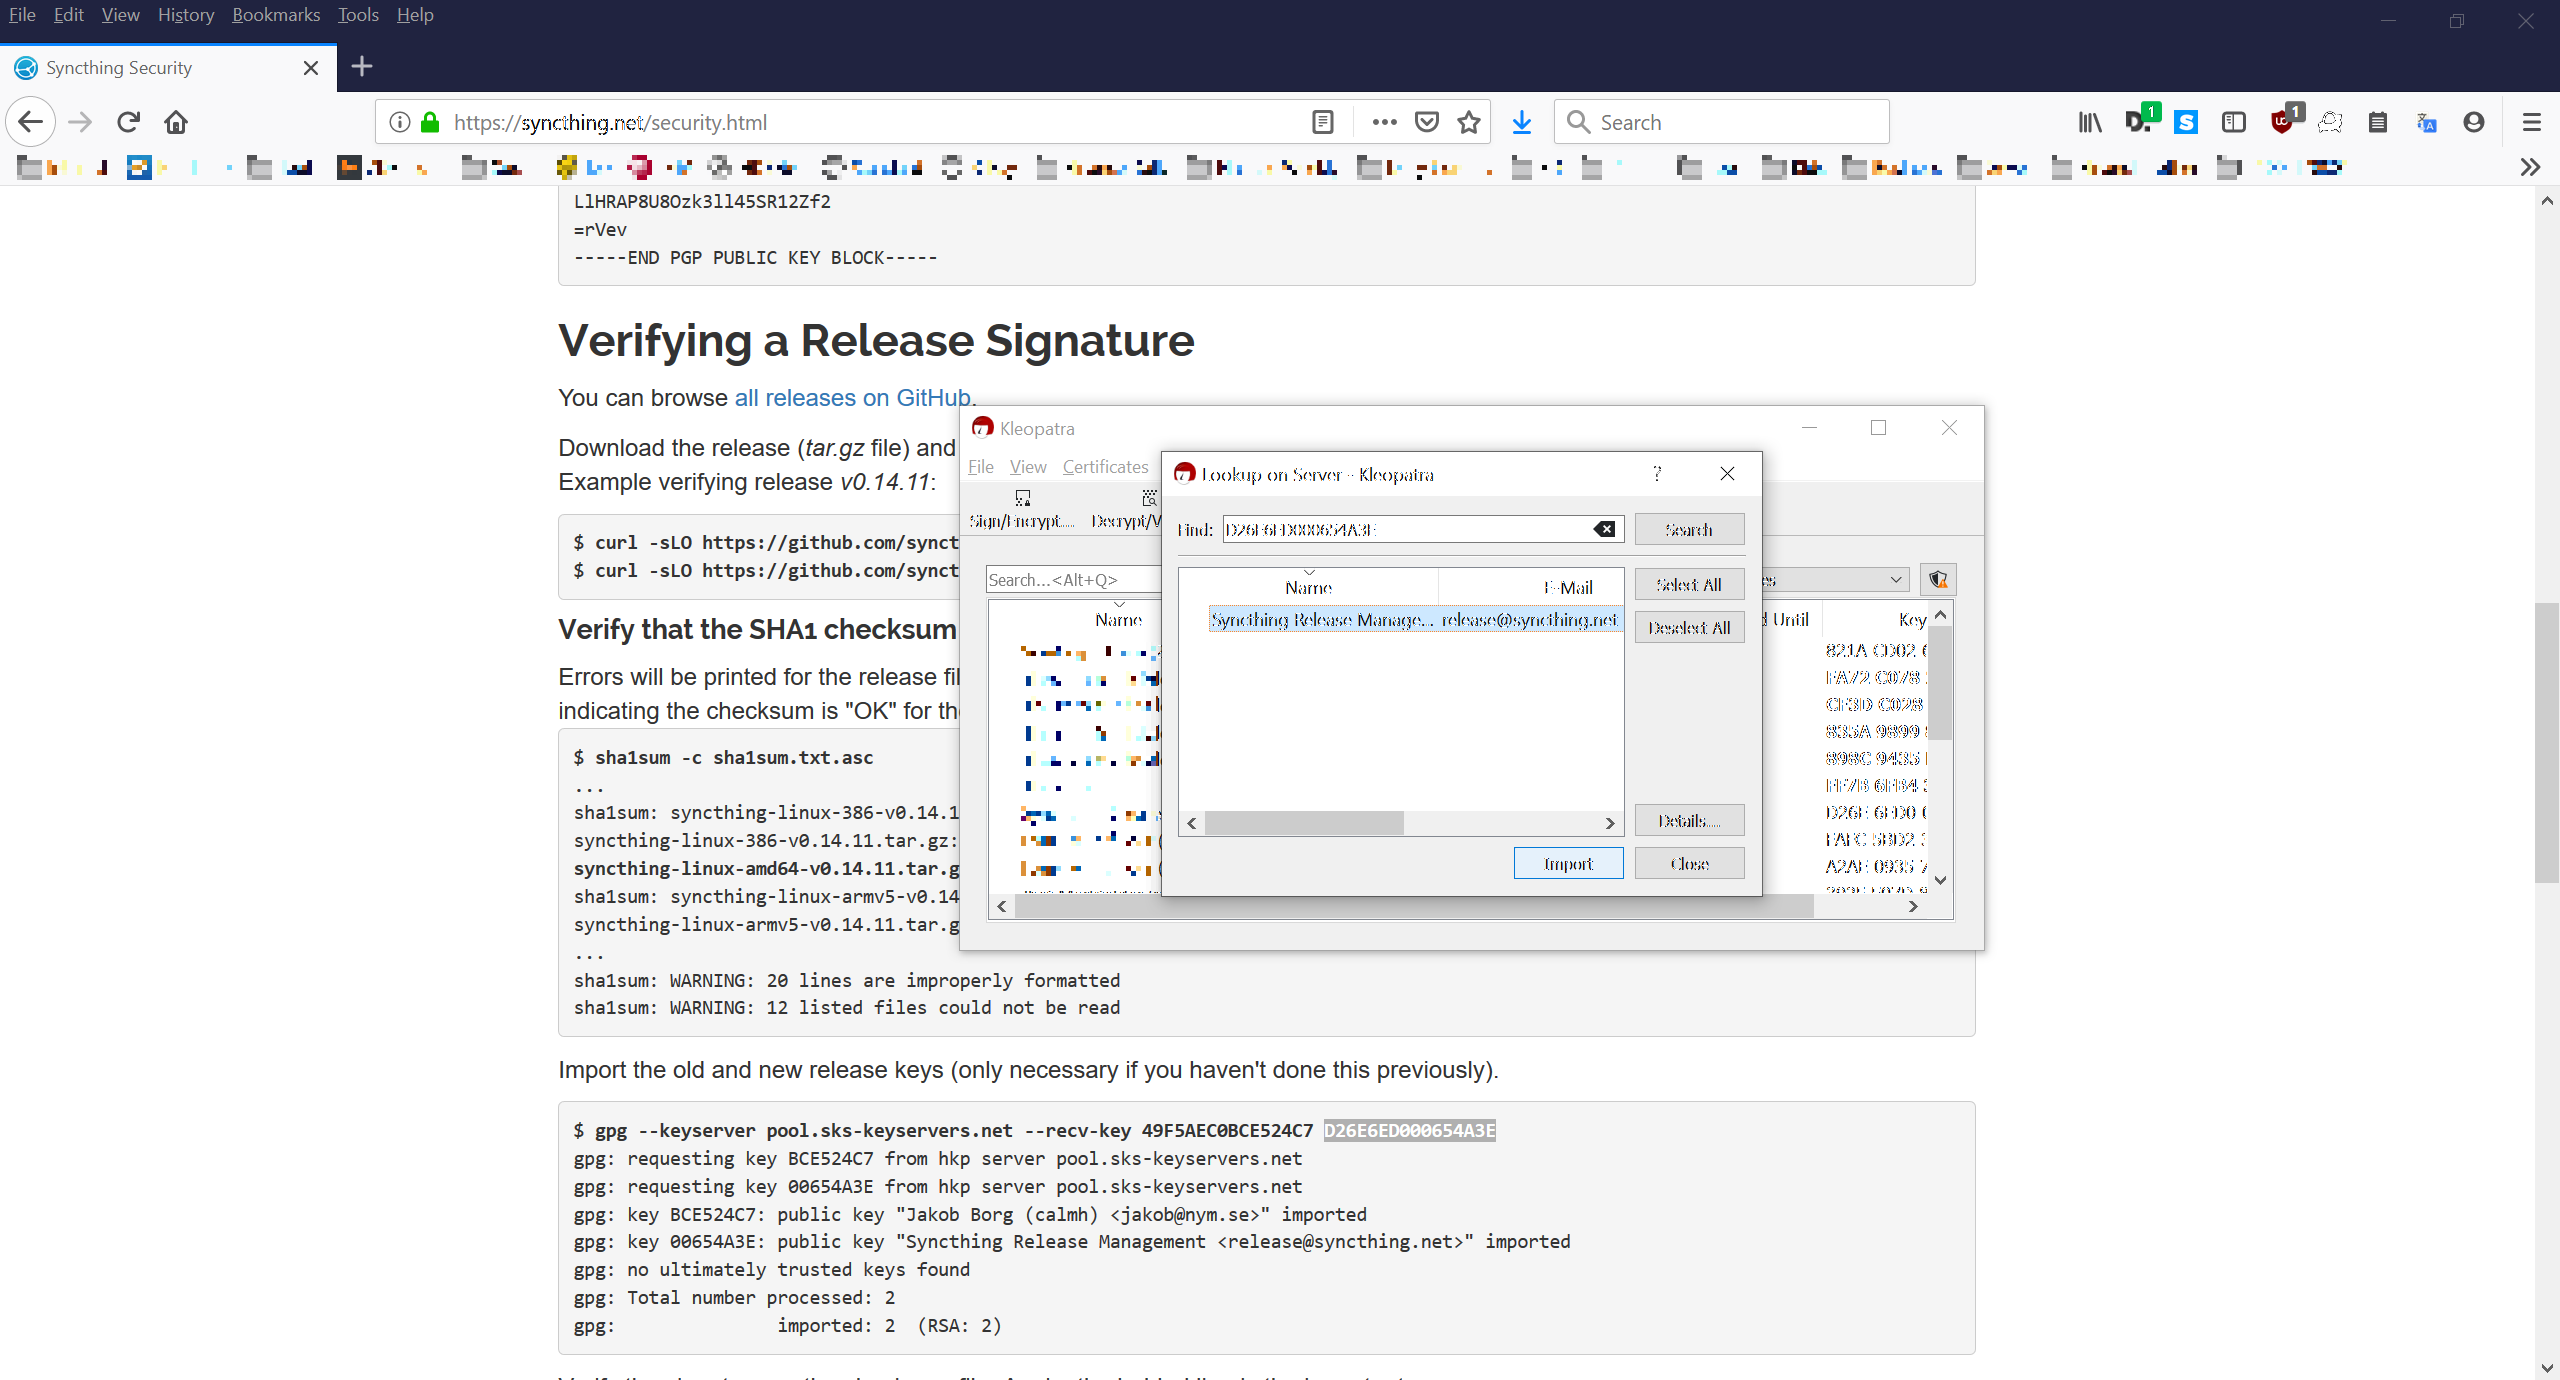
Now let’s ensure the file is indeed the correct one. From the Synthing security page we learn how to use the command line to import the GPG key or we can use the graphical to Kleopatra to search for the two mentioned keys via the Lookup on Server function. (We installed Kleopatra as part of the GPG4Win installation.)


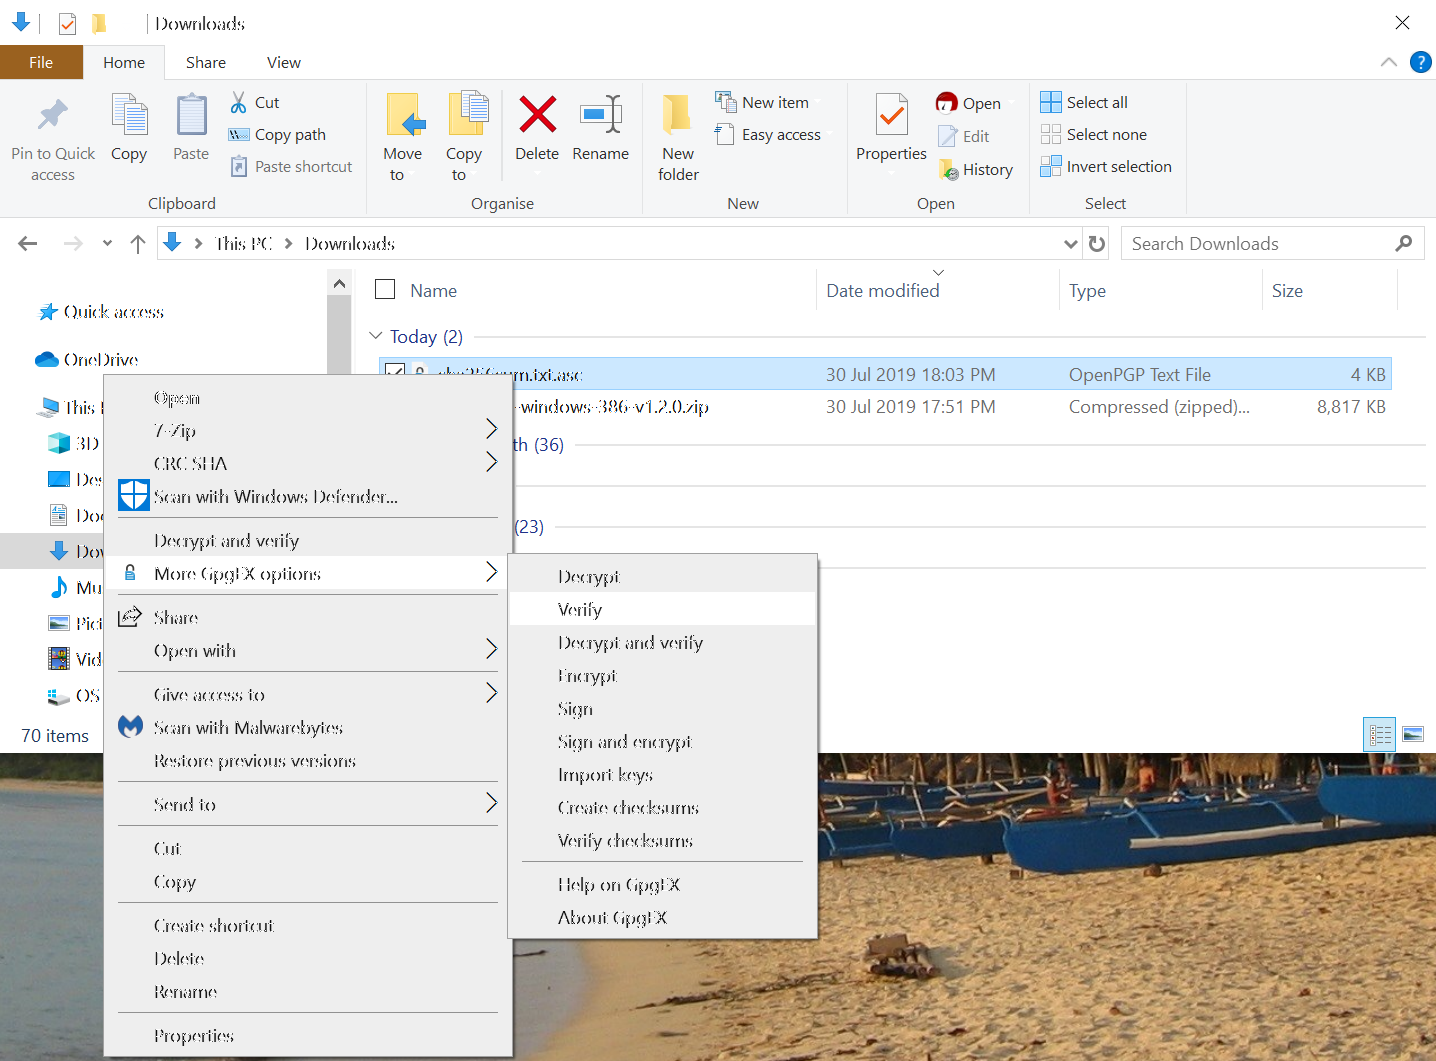
With the keys now known to our GPG system, we can right-click on the previously downloaded checksum file and select the
Verify function within the
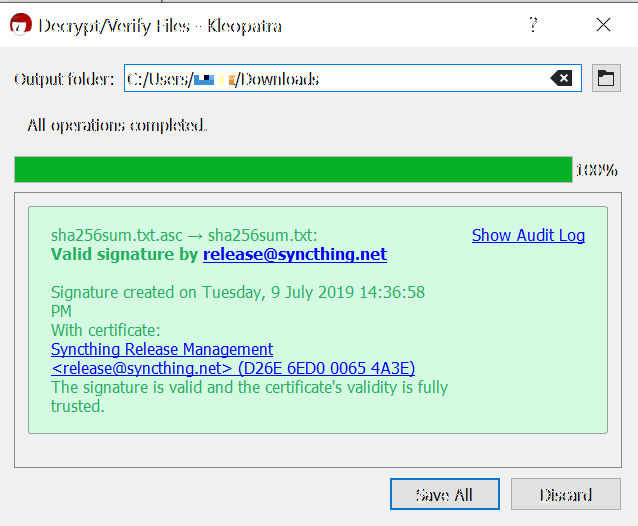
More GpgEX options menu and Kleopatra should inform us in a friendly green colour that the checksum file is genuine an offer an option to save the verified file (
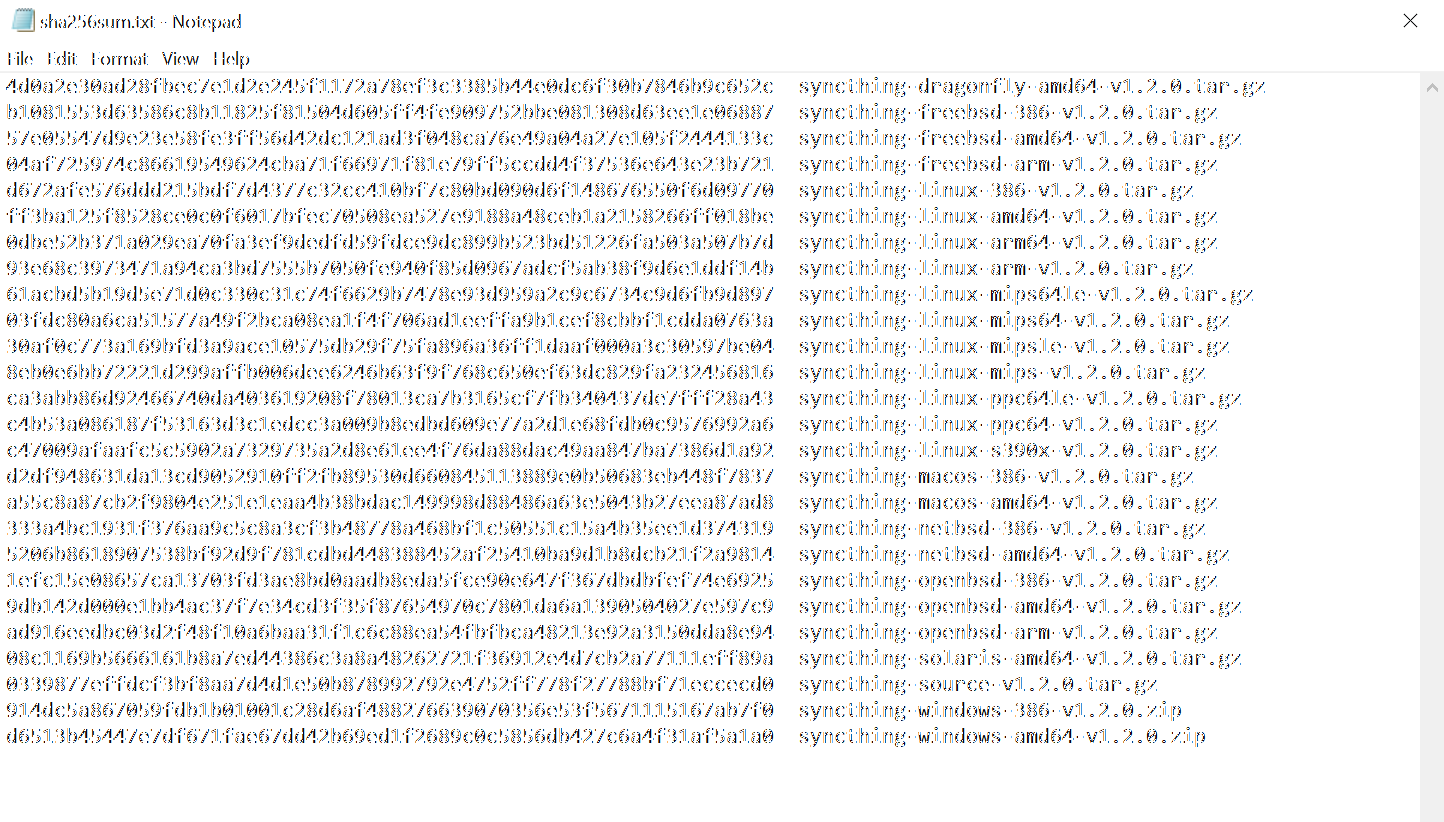
Save All button), a text file (with .txt file extension) which we then open.
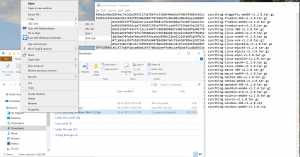
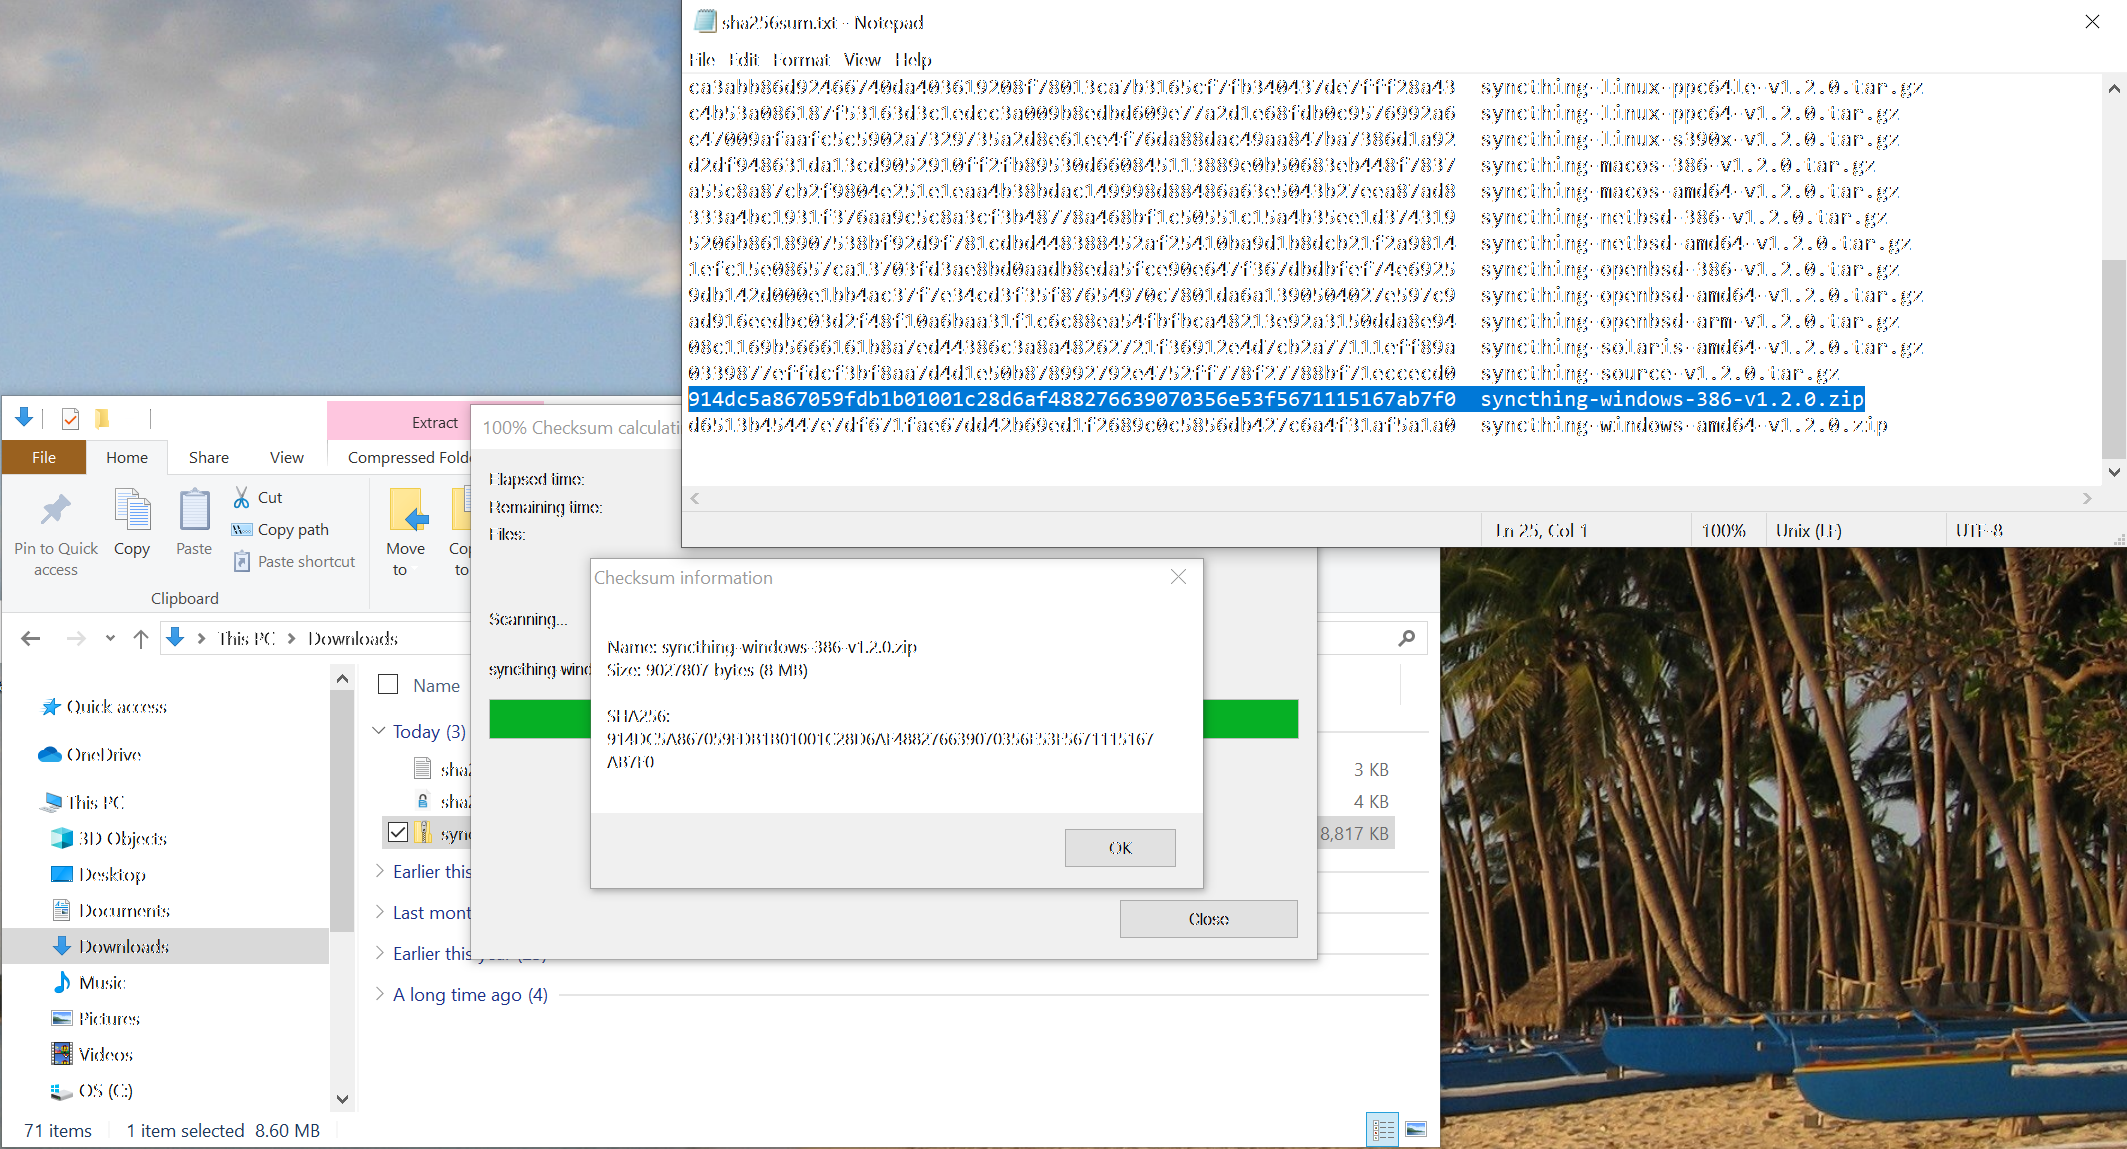
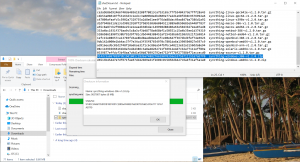 The last step to validate, we have downloaded the correct and uncorrupted Syncthing zip file is to right-click on the downloaded syncthing-windows-386-v1.2.0.zip file and select SHA-256 from the CRC-SHA menu and compare it with the checksum from the validated text file. (The CRC-SHA menu is part of the 7-zip tool, we installed earlier.) It may need some moving and adjusting to be able to see both at the same time.
It may look cumbersome to go through all those steps, just to ensure the authenticity of the downloaded application, however, we prefer safe over sorry before we allow a downloaded application to install on our PC and gain access to our files.
Installation
Now, finally, double-click the downloaded zip file and unpack it to a suitable location and double-click the syncthing.exe file to start the installation process.
Once completed, you can select which folders you intend to sync and you can introduce your other devices running syncthing to start synchronization.
You may want to consider what files you need on which device and e.g. not synchronise all your files with your mobile phone.
There’s also some caveats when trying to synchronize e.g. your photos taken on the mobile phone to your PC as not all Android versions allow access to an external MicroSD memory card that you may use to store your photos on.
 Having our KeePass e-wallet containing all important passwords in sync across your devices is certainly a huge value-add.
The online documentation for Syncthing is quite comprehensive and recommended for finding further details on this very helpful tool.
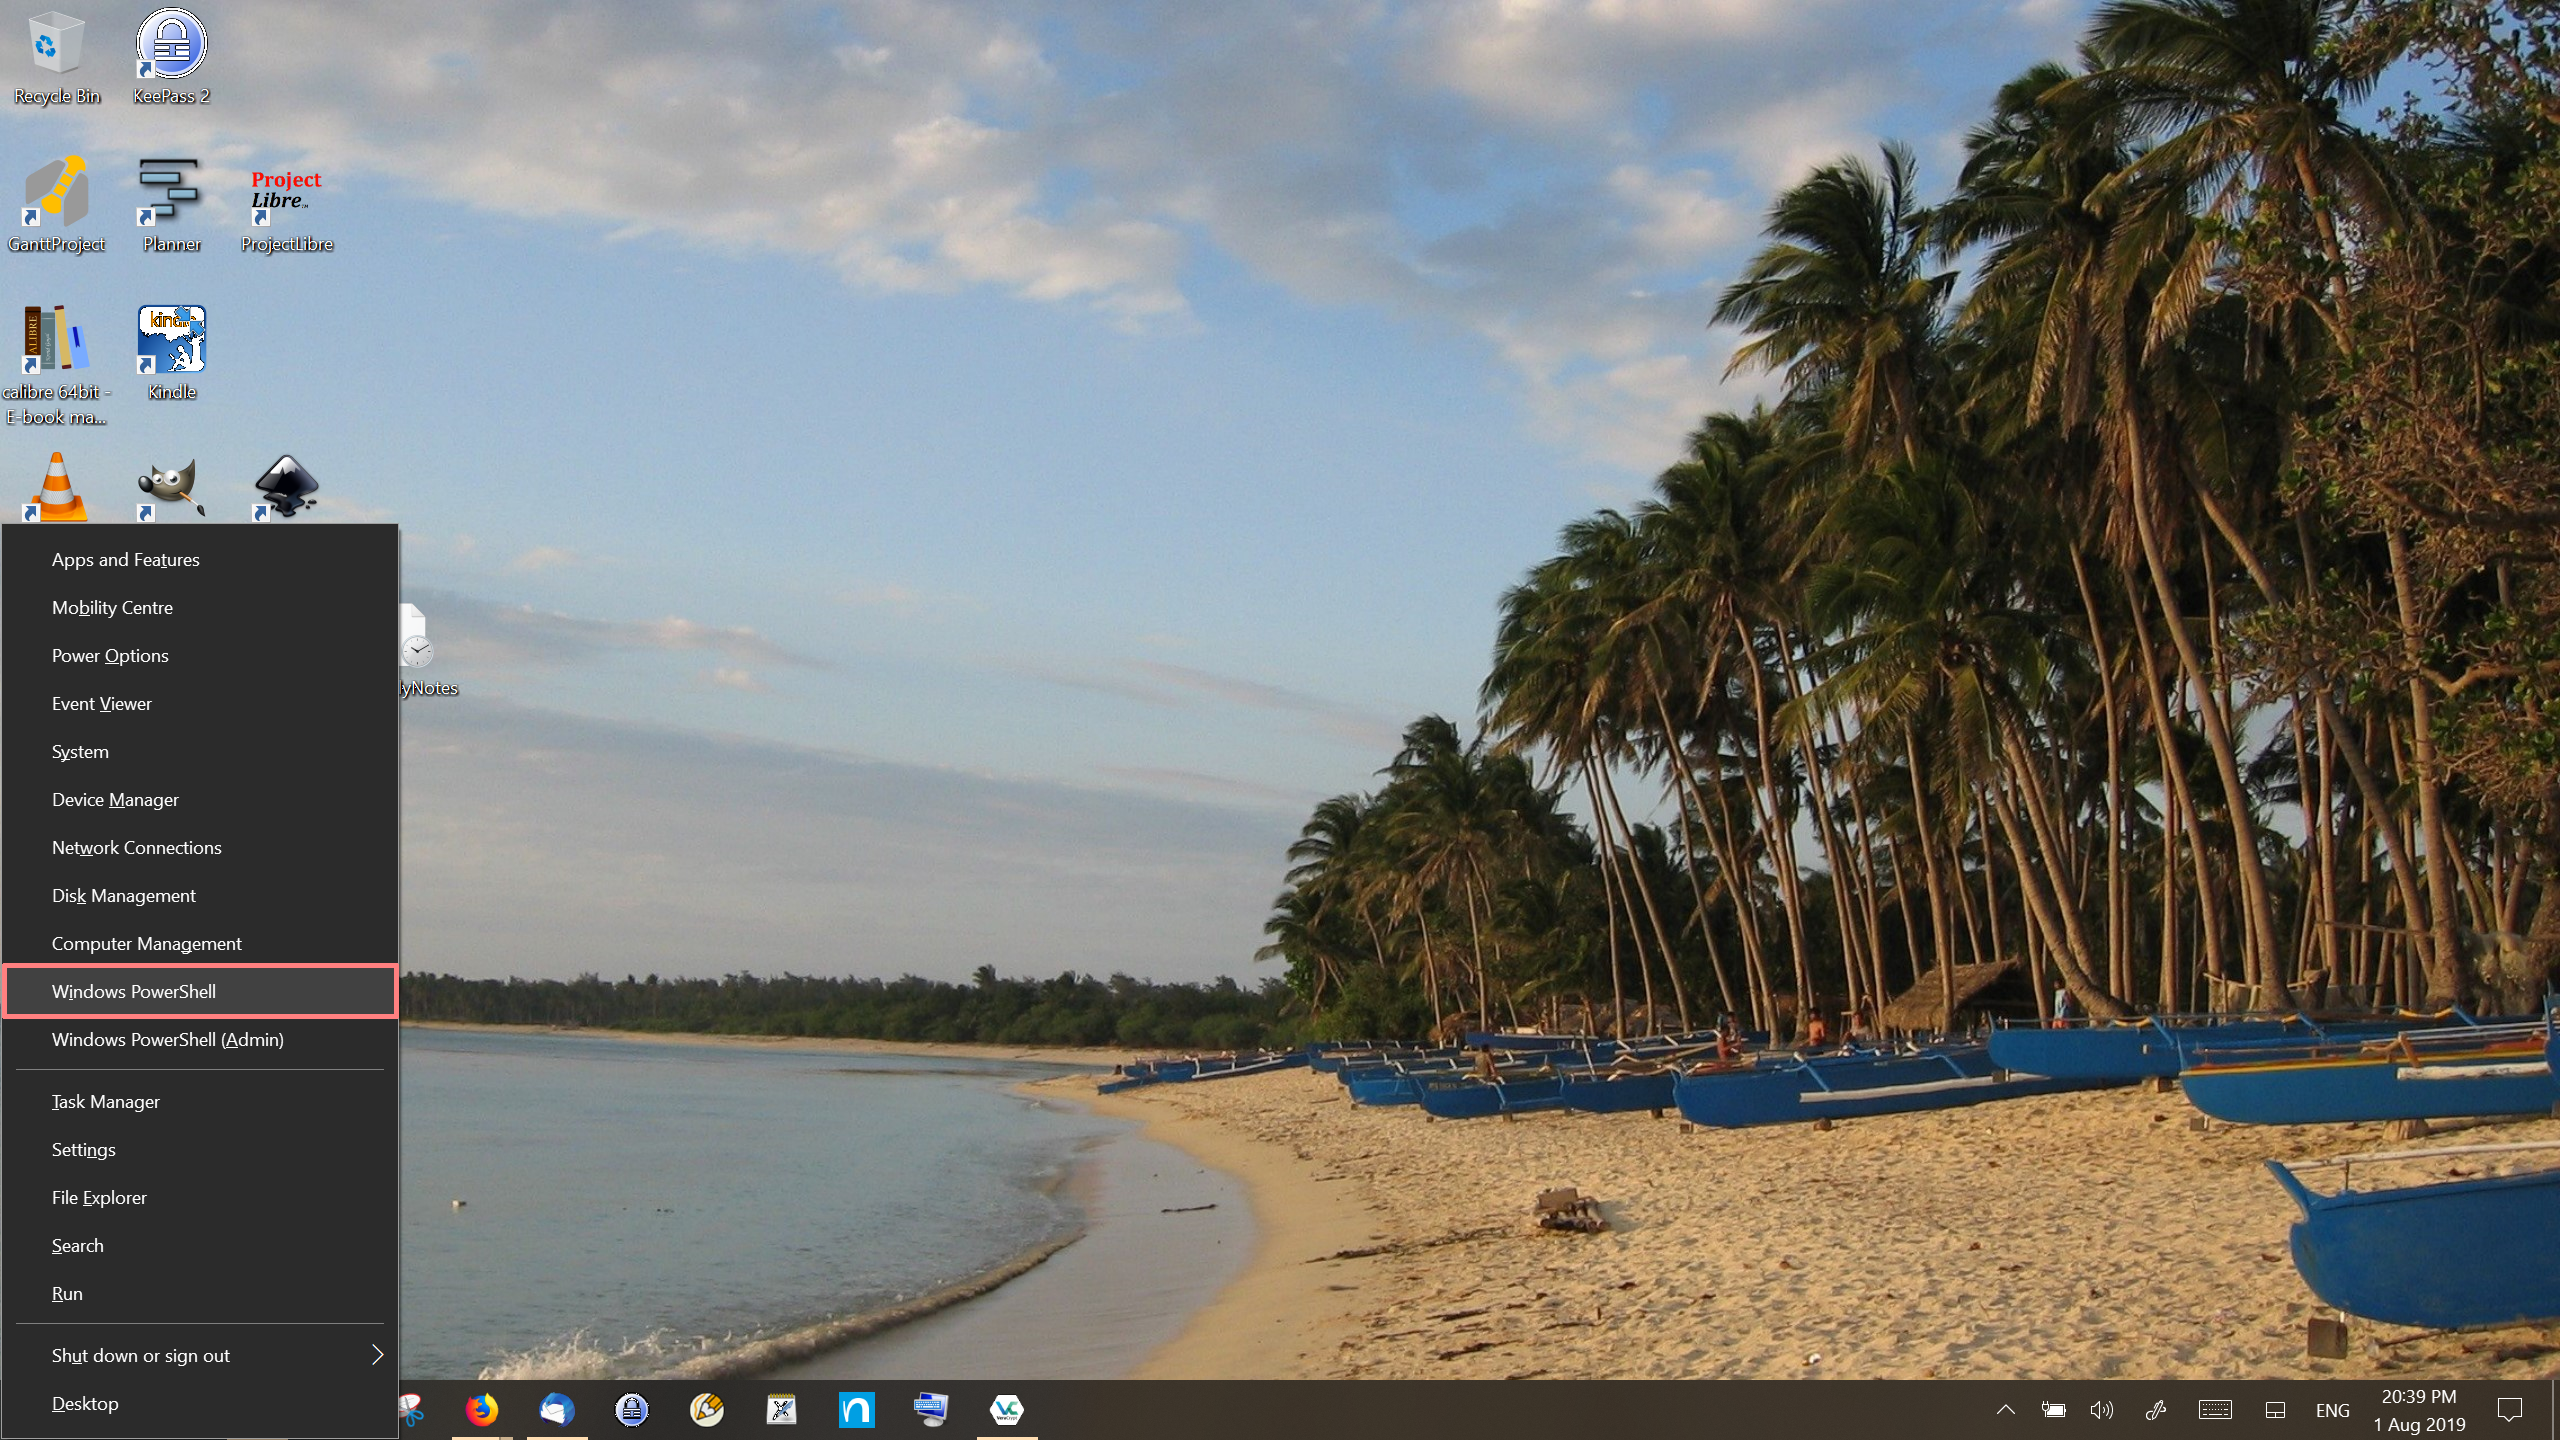 First, we open a command shell by pressing the Windows-Key + X-Key at the same time and select Windows PowerShell from the menu.
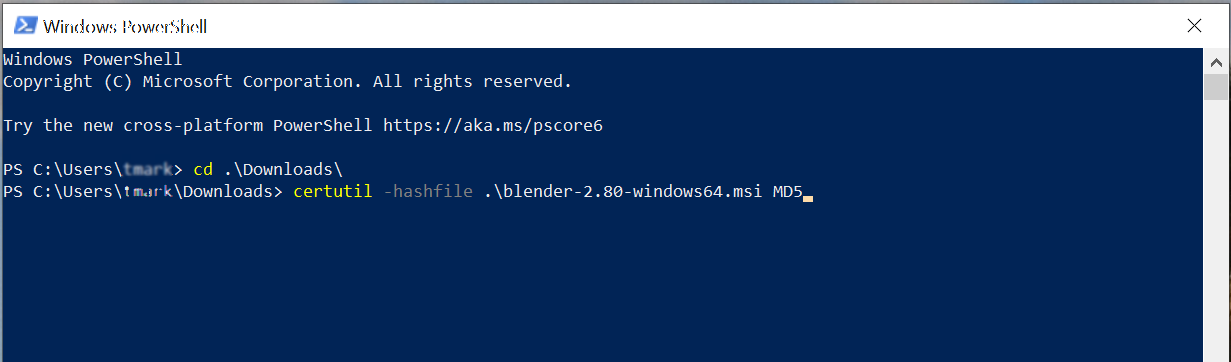 Now, change to the directory where the downloaded file is stored with the cd command, e.g.